A (thankfully) long time ago in a galaxy far far away I developed web apps in Flash. And when I had to target different versions I had to go through a whole rigamarole of uninstalling and reinstalling plugins. Fast forward to now and I’m often working on projects in Ruby. I’ve found RVM and gemsets to be a lifesaver for managing multiple environments on different projects. But as the environment gets more complicated I’ve started to want to have each project live in splendid isolation, in their own Virtual Machine. My last post described getting a bare-bones Ruby development environment up and running. This post details taking that a little further, and getting a Rails Virtual Machine up and running.

These are some Vagrants on the Rails. Read on for Rails on Vagrants…
Vagrant powered Rails Virtual Machine
In the last post, I showed how the initial machine was installed and configured with the packages we’d need for development. In essence we get as far as having the right version of ruby and installing bundler which we will use to grab all out other dependencies. Now we have everything we need to get up and running with our rails app, we will execute one more script to fully provision our box. Check out the base_rails_app branch to get started:
git clone -b base_rails_app --single-branch https://github.com/eyefodder/spex.git
If you look inside the VagrantFile you will see that now instead of running post_up_message.sh we have renamed it to prep_rails_app.sh and added a few commands. Let’s take a look:
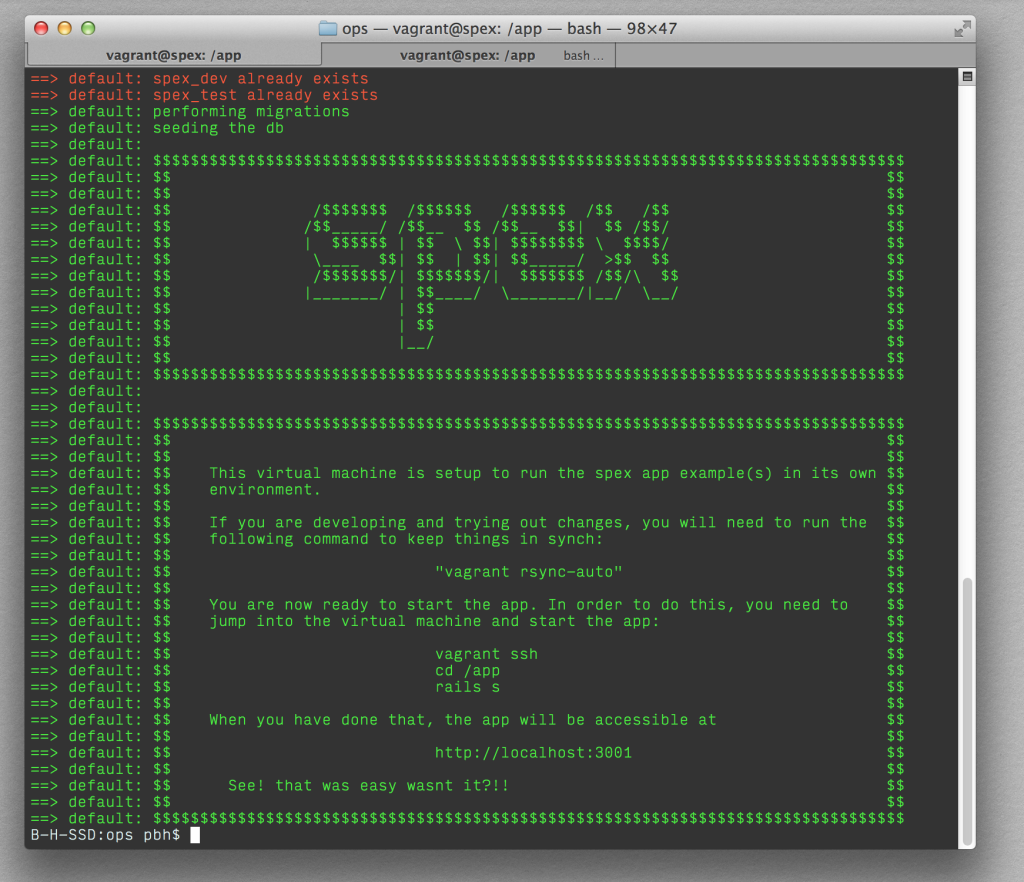
cd /app
echo 'installing app dependencies'
bundle install
echo 'creating databases (if needed)'
rake db:create
echo 'performing migrations'
rake db:migrate
echo 'seeding the db'
rake db:seed
So, after jumping into the /app directory (which is the guest machine path to our root development directory), we do the following:
bundle install— to install / update any gems specified in theGemfilerake db:create— to create any databases specified indatabase.yamlrake db:migrate— to execute any pending migrationsrake db:seed— to populate the database with any data specified indb/seeds.rb
And that in essence is it! When you run vagrant up, you can be sure you have the environment up and running and the app in the newest state ready to develop on. All you need to do to fire up the server is the following:
vagrant ssh
cd /app
rails s
Now your app will be accessible on http://localhost:3001 and you can start developing. One thing to note is that in the Vagrantfile, we have set the script to run as privileged: false. Scripts run by Vagrant execute as the root user by default (useful for installing software). But for running bundler and rake tasks, this is a bad thing. So we just run the script as the non-privileged vagrant user and we’re good to go. You’ll also notice that the script is set to run: 'always' which means it will run every time we vagrant up. This one needs a little more explanation
Why prep’ the Rails application every time?
When I have been working on projects with other people, I’ve found that the most common issues people have when running the app are usually caused by not installing required gems or not performing a migration that someone else has committed. What this script helps to do is mitigate that by ensuring that every time you bring the machine up, those regular updating tasks are performed. It’s worked really well for me but does come with one caveat: you have to make sure your scripts are idempotent.
Idempotent what?
When I first started using Puppet I was introduced to a new term – that of idempotence. What it basically means is that after you have applied commands once, they have no further effect. For example, if you run rake db:create multiple times, no harm is done. Same goes for bundle install and rake db:migrate. However, for rake db:seed you have to be a little more careful in how you write your seed code.
Beware multiple seeding
So the only real thing to watch out for in all this is that you write your seeds.rb in such a way that if you run it multiple times you don’t end up with multiple database entries. Gratuitous use of first_or_create! should help here. For example, instead of:
Thing.create(property1: 'foo', property2: 'bar')
go for something like this:
Thing.where(property1: 'foo').first_or_create!(property1: 'foo', property2: 'bar')
This makes for more cautious code anyway, which regardless of if you’re using this process is generally a good thing.
What’s next
Once I had the Rails Virtual Machine up and running things were (almost) plain sailing. In an upcoming post I’ll talk about testing using Guard and RSpec; as well as how to get notifications from the Rails Virtual Machine to trigger Growl notifications on your desktop.